
Why Your Styling Tools Matter More Than You Think
Picture this: You’re getting ready for a big presentation, running late as usual, and you grab your trusty flat iron. Crank it to maximum heat, run it through damp hair, and—sizzle. That sound? That’s your hair literally cooking. We’ve all been there, and honestly, our strands are still recovering from the trauma.
Here’s the thing: hair styling at home can either be your secret weapon for confidence or a one-way ticket to Damage City. The difference isn’t luck—it’s knowledge. Using the right best hair styling tools with proper technique can transform your look without sacrificing hair health. Today, we’re diving deep into the world of damage-free styling, covering everything from choosing the perfect tool for your hair type to mastering pro techniques that’ll have people asking if you just left the salon.
By the end of this guide, you’ll know exactly which tools deserve a spot in your arsenal, how to use them safely, and why your hair will thank you for making the switch to smarter styling habits.

The Hidden Risks of Styling Without Knowledge
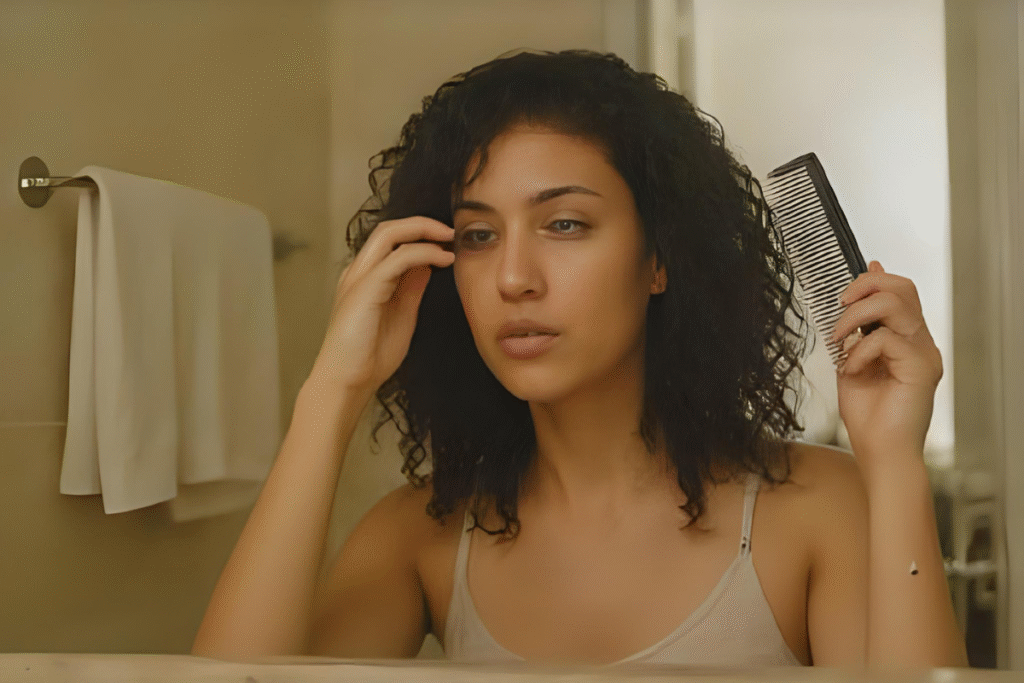
Let’s talk about the elephant in the room: most of us learned hair styling from YouTube tutorials and trial-and-error sessions that left our bathroom mirrors looking like crime scenes. The result? We’re unknowingly committing hair crimes daily.
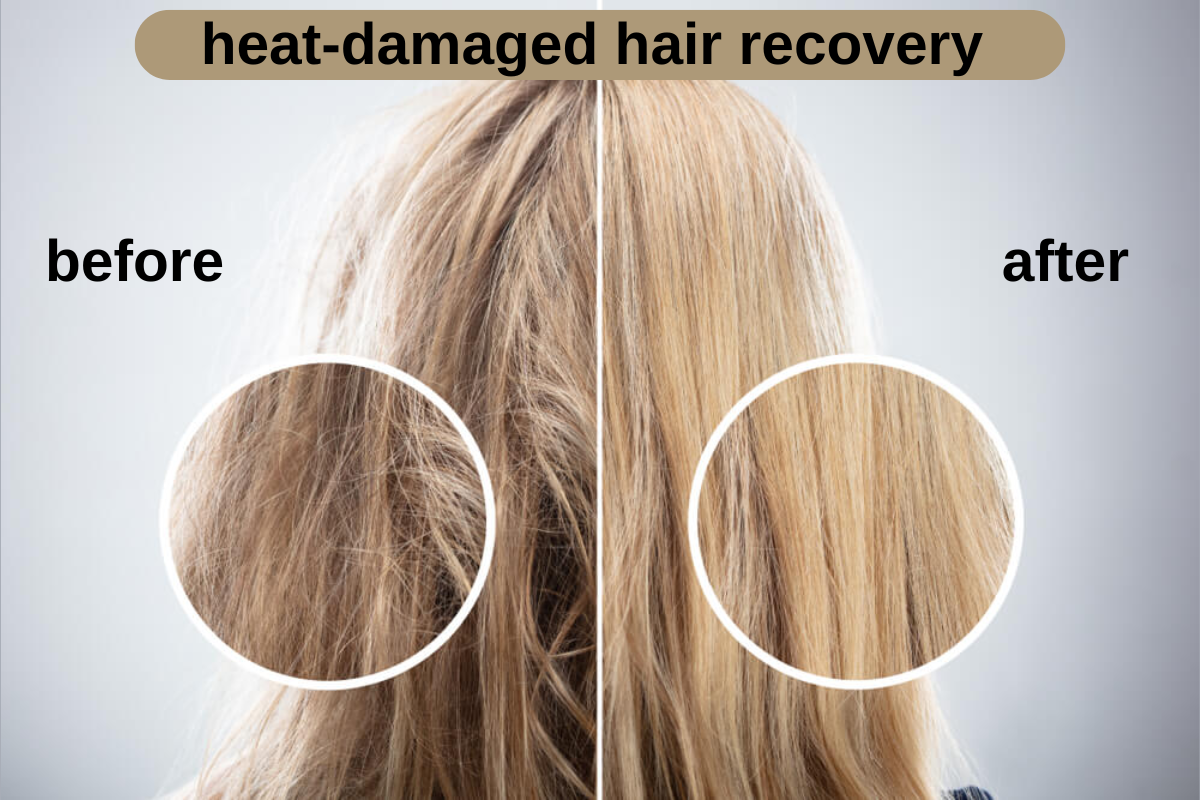
Curling iron safety isn’t just about avoiding burns (though please, use that heat-resistant glove). It’s about understanding that wet hair + high heat = protein denaturation. Translation: you’re literally scrambling your hair like Sunday morning eggs. Research from the Journal of Cosmetic Science shows that excessive heat styling can reduce hair strength by up to 40%.
Are you guilty of these styling sins?
- ✗ Skipping heat protectant because you’re “just touching up”
- ✗ Using the highest heat setting for faster results
- ✗ Styling damp or wet hair
- ✗ Holding hot tools in one spot too long
- ✗ Never cleaning your styling tools
Hair styling for beginners often means learning these lessons the hard way—through breakage, split ends, and that crispy texture that no amount of conditioning can fix. But here’s the good news: using the right tools the right way changes everything. Your hair can look amazing and stay healthy.
Hair Tool 101: What Every Beginner Should Know
Before we dive into the how-to’s, let’s get familiar with the players in the best hair styling tools lineup. Think of this as your styling tool dating profile—who they are, what they do, and whether you’re compatible.
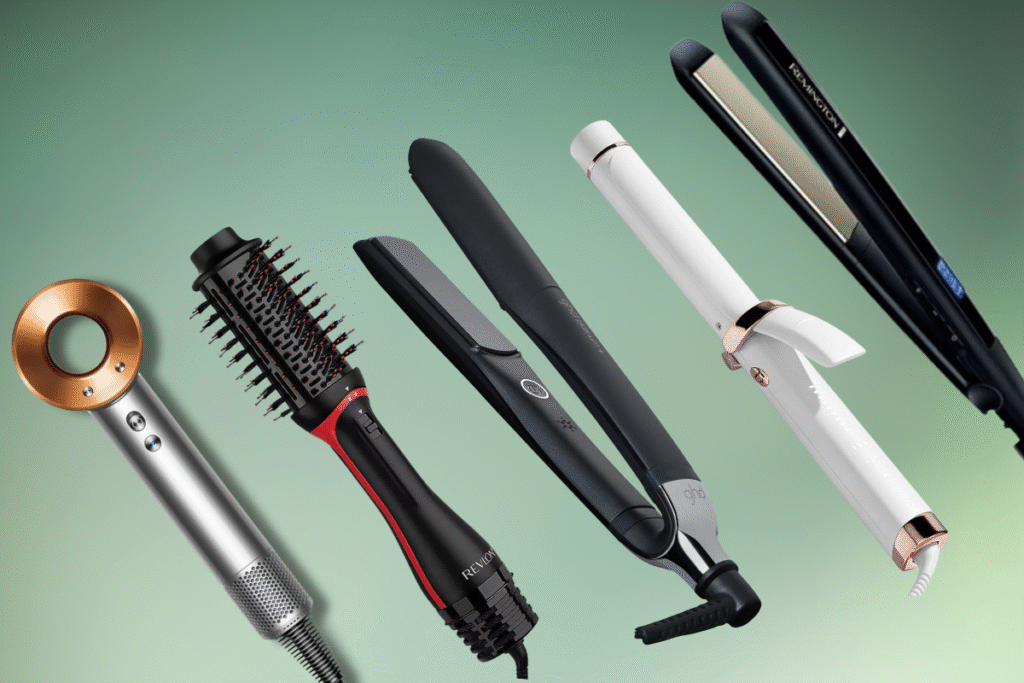
The Essential Lineup
Hair Dryer: The workhorse of your routine. Modern blow dryers use ionic or ceramic technology to dry hair faster while reducing frizz. Perfect for all hair types, especially if you’re always rushing out the door.
Flat Iron: Your go-to for sleek, straight styles. Look for adjustable temperature settings and ceramic or titanium plates. Essential for anyone wanting smooth, polished looks.
Curling Iron/Wand: The difference? Curling irons have a clamp, wands don’t. Irons are great for beginners, while wands offer more styling versatility. Choose barrel size based on your desired curl type.
Hot Rollers: The gentle giants of curl creation. They work with lower heat over longer periods, making them ideal for fine or damaged hair.
Blow-Dry Brush: The multitasker that dries and styles simultaneously. Perfect for adding volume and creating smooth blowout looks at home.
Quick Reference Guide
| Tool | Best For | Heat Level | Skill Level |
|---|---|---|---|
|
Hair Dryer
|
All hair types
|
Medium-High
|
Beginner
|
|
Flat Iron
|
Straight styles
|
Medium-High
|
Beginner
|
|
Curling Iron
|
Defined curls
|
Medium
|
Intermediate
|
|
Curling Wand
|
Natural waves
|
Medium
|
Intermediate
|
|
Hot Rollers
|
Volume & gentle curls
|
Low-Medium
|
Beginner
|
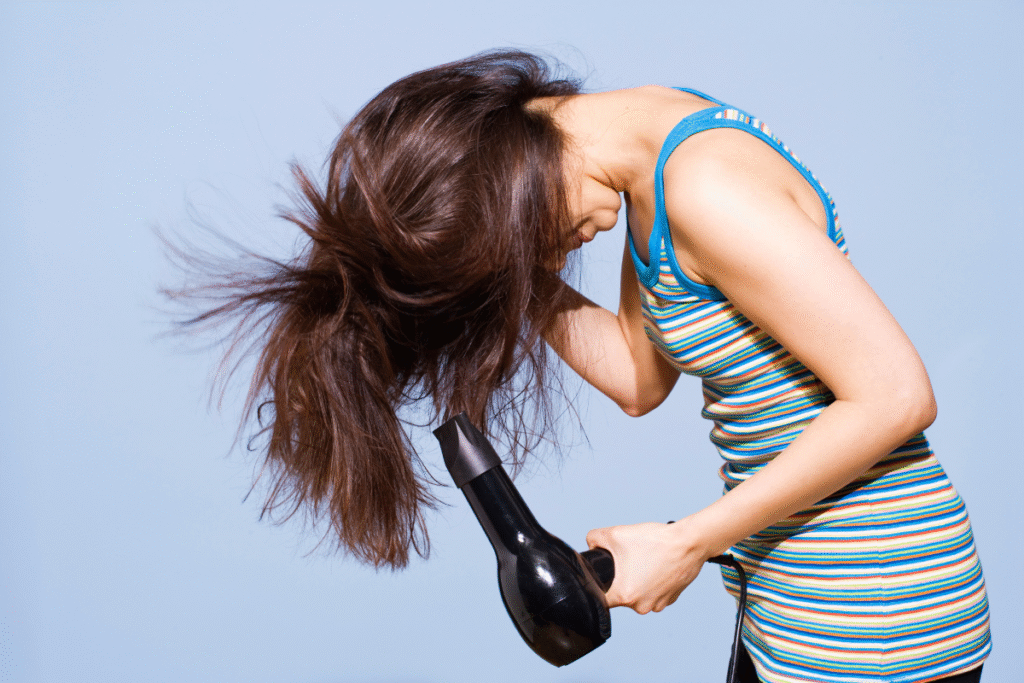
How to Use a Hair Dryer Without Frying Your Hair
Let’s be real—most of us treat blow-drying like we’re trying to defrost a turkey: maximum heat, minimum patience. But hair dryer tips from actual professionals will change your whole game.
The Pro Method
Step 1: Start with towel-dried hair (not soaking, not bone dry). Hair should be about 60% dry before you even plug in the dryer.
Step 2: Apply heat protectant spray from mid-length to ends. This isn’t optional—it’s insurance for your hair.
Step 3: Use a concentrator nozzle. That funny-looking attachment isn’t decoration; it focuses airflow for smoother results and less damage.
Step 4: Keep that dryer moving! Holding it in one spot is like sunbathing without sunscreen—disaster waiting to happen.
Step 5: Finish with a cool shot to seal the hair cuticle and lock in your style.
The Temperature Talk
Here’s what hairstylists know: ionic dryers work at lower temperatures while still drying efficiently. Ceramic technology distributes heat more evenly, reducing hot spots that can cause damage. If your dryer only has “nuclear” and “slightly less nuclear” settings, it might be time for an upgrade.
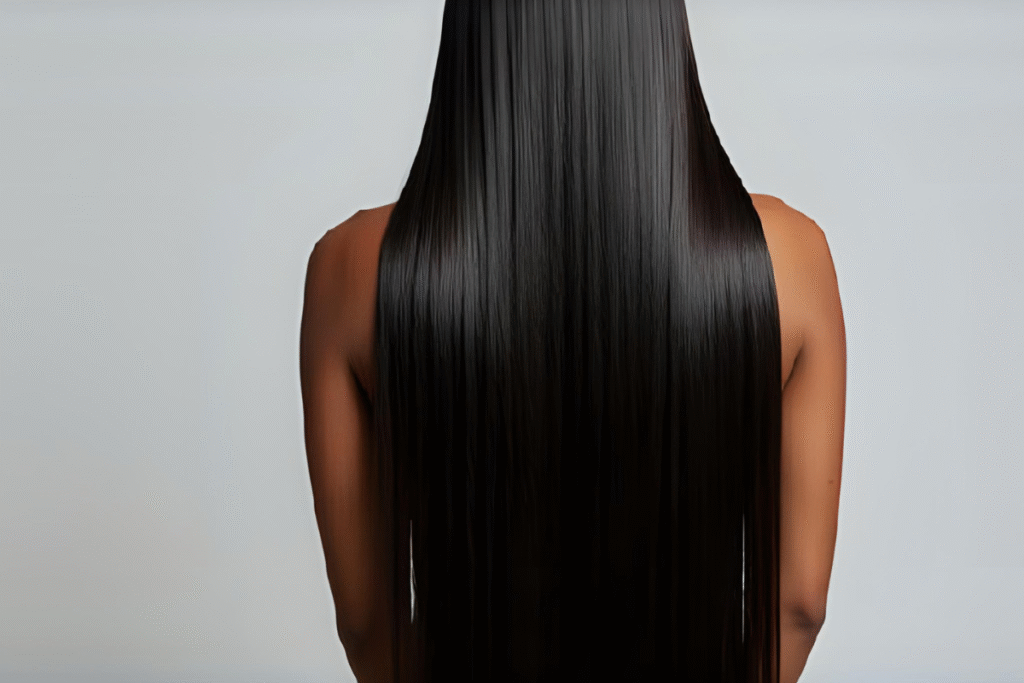
Flat Iron Mastery: Straight Hair Without the Split Ends
Ah, the flat iron—beloved by millions, feared by hair follicles everywhere. But how to use hair straightener properly doesn’t have to involve sacrificing your hair’s health for the sake of sleekness.
Choosing Your Weapon
Flat iron for fine hair requires special consideration. Fine hair needs lower temperatures (250-300°F) and narrower plates (1 inch or less) for better control. Thick, coarse hair can handle wider plates and higher heat (up to 350°F), but even then, more isn’t always better.
The Straightening Strategy
Temperature by Hair Type:
- Fine/damaged hair: 250-300°F
- Normal hair: 300-325°F
- Thick/coarse hair: 325-350°F
- Never exceed 400°F (seriously, this isn’t a competition)
The Technique:
- Start with completely dry hair and heat protectant spray
- Section hair into 1-2 inch pieces
- Glide the iron smoothly from root to tip in one motion
- Don’t clamp down too hard or move too slowly
- One pass should be enough—multiple passes mean higher heat
Plate Technology Decoded
Ceramic plates distribute heat evenly, titanium heats up faster and works well for thick hair, and tourmaline releases negative ions to reduce frizz. For most people, ceramic is the sweet spot of performance and gentleness.
Curling Like a Pro: Tools, Techniques, and Safety Tips
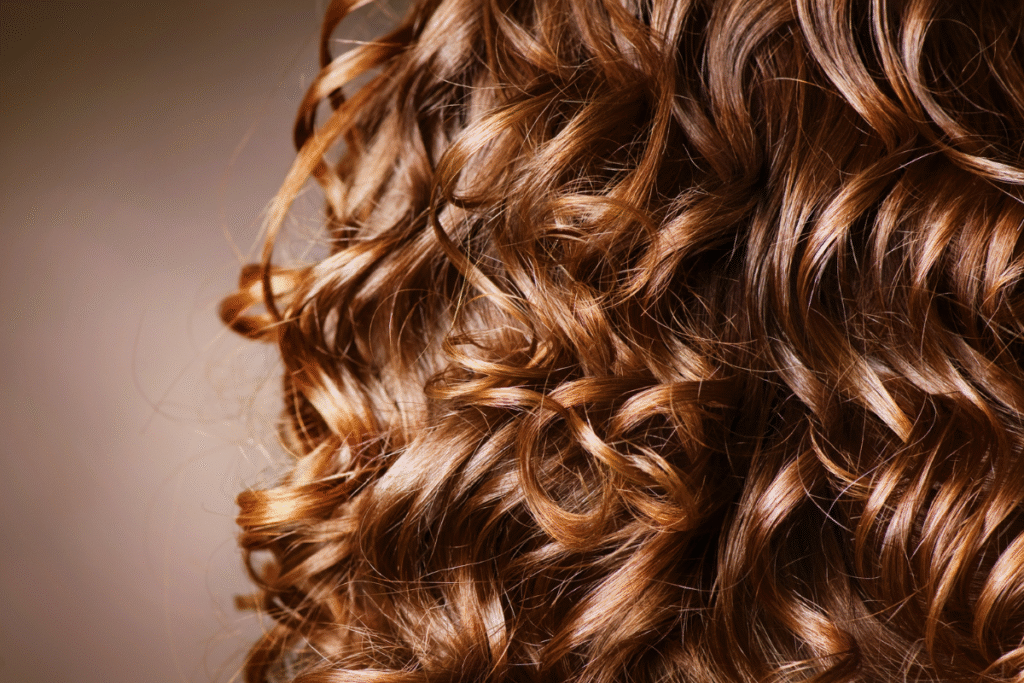
Curling tools are where things get fun—and where curling iron safety becomes crucial. Nothing ruins a night out faster than a curling iron burn on your forehead (been there, learned that).
Wand vs. Iron: The Great Debate
Curling irons have that helpful clamp that holds your hair, making them perfect for beginners. Curling wands give you more control over curl direction and tension, but they require more skill (and definitely a heat-resistant glove).
Barrel Size Breakdown
- ¾ inch: Tight, spiral curls
- 1 inch: Classic curls with good hold
- 1.25 inch: Loose curls and waves
- 1.5+ inch: Beachy waves and subtle bends
Safety First, Style Second
Always, always use a heat-resistant glove with wands. Wrap hair away from your face for the most flattering curl direction. Hold for 8-10 seconds max—longer doesn’t mean better curls, just more damage.
Pro Techniques for Different Looks
Beachy Waves: Use a 1.25-inch wand, wrap larger sections, and run your fingers through curls while they’re still warm.
Tight Curls: Use a smaller barrel, wrap smaller sections, and let curls cool completely before touching them.
Best Hair Curler Picks:
- Beginners: T3 Whirl Trio for versatility
- Long hair: Paul Mitchell Neuro Curl for even heating
- Budget-friendly: Conair InfinitiPro for reliable performance
Best Hair Styling Tools in 2025 (Editor Picks)
After testing dozens of tools and consulting with professional hairstylists, here are our hair tool reviews winners that actually deliver on their promises:
Why it wins: Intelligent heat control prevents extreme temperatures, and the powerful airflow cuts drying time in half. Yes, it’s an investment, but your hair (and morning routine) will thank you. Best for: All hair types, especially thick or long hair Price: $429
Why it wins: Ultra-zone predictive technology maintains optimal 365°F temperature, reducing breakage by 50% compared to other flat irons. Best for: Anyone wanting consistently smooth results Price: $249
Why it wins: Uses HeatID technology to determine your hair’s optimal temperature and curl timing. It’s like having a personal hairstylist built into your curling iron. Best for: Curl perfectionists and heat-damage worriers Price: $269
Why it wins: Dries and styles simultaneously with ionic technology and multiple heat settings. Perfect for busy mornings. Best for: Medium to long hair, volume seekers Price: $70
Best Budget Pick: Remington S5500
Why it wins: Digital temperature display, ceramic plates, and 400°F max heat at a fraction of premium prices. Best for: Beginners or occasional users Price: $25
Heat Protectants: The Unsung Hero of Safe Styling
Let’s talk about heat protectant spray—the skincare equivalent of SPF for your hair. Skipping this step is like going to the beach without sunscreen: you might get away with it once, but long-term, you’re setting yourself up for damage.
Why Heat Protection Matters
Heat protectants create a barrier between your hair and hot tools, reducing moisture loss and protein damage. They can lower the effective temperature your hair experiences by 50°F or more—that’s the difference between healthy styling and hair disaster.
Application 101
Apply to damp (not soaking) hair, section by section. Don’t just spray and go; work it through with your fingers or a wide-tooth comb. Wait until hair is completely dry before using hot tools.
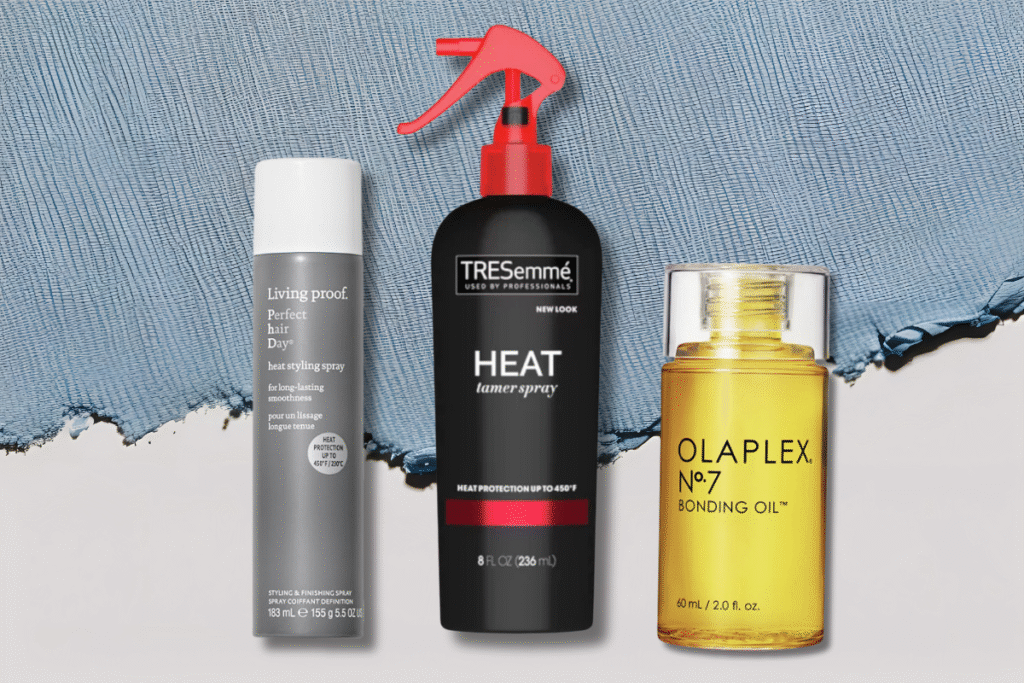
Top Picks for Damage-Free Styling
TRESemmé Thermal Creations Heat Tamer: Lightweight, affordable, and works on all hair types
Olaplex No. 7 Bonding Oil: Repairs bonds while protecting from heat up to 450°F
Living Proof Perfect Hair Day Heat Styling Spray: Reduces breakage and adds shine without weighing hair down
Common Mistakes People Make with Hair Tools
Even with the best tools and products, damage-free styling can go wrong fast. Here are the five biggest mistakes I see people make—and how to avoid them:
1. Using Tools on Wet Hair
The mistake: “I’m in a hurry, it’s just slightly damp!” The reality: Wet hair is fragile hair. Heat + moisture = steam damage that creates bubbles in your hair shaft. The fix: Always wait until hair is completely dry, or use a blow dryer first.
2. Skipping Heat Protectant
The mistake: “I’m only straightening the front pieces.” The reality: Any heat exposure needs protection, even “quick touch-ups.” The fix: Make heat protectant as automatic as brushing your teeth.
3. Maxing Out the Temperature
The mistake: “Higher heat = faster results!” The reality: Most hair types don’t need maximum heat. Fine hair should never exceed 300°F. The fix: Start low and increase gradually until you find your hair’s sweet spot.
4. Never Cleaning Your Tools
The mistake: Those white flakes on your flat iron? “That’s just… character.” The reality: Product buildup transfers back to your hair and creates uneven heating. The fix: Clean tools monthly with rubbing alcohol and a soft cloth.
5. Holding Sections Too Long
The mistake: “If 10 seconds is good, 20 seconds must be better!” The reality: Overheating one section causes more damage than multiple gentle passes. The fix: 8-10 seconds max, then move on.
FAQ: Quick Answers to Hot Tool Questions
What’s the best tool for beginners?
Start with a good hair dryer and ceramic flat iron. These are the most versatile and forgiving tools for hair styling for beginners. Master these before moving on to curling tools.
Can I use hot tools every day?
Ideally, limit heat styling to 3-4 times per week. If daily styling is necessary, use lower temperatures, always use heat protectant, and incorporate deep conditioning treatments weekly.
Is air drying better than blow drying?
Both have pros and cons. Air drying is gentler but can lead to fungal issues if hair stays wet too long. Blow drying with proper technique and heat protection is actually healthier than rough towel drying.
How do I know what temperature is safe for my hair type?
Fine/damaged hair: Under 300°F. Normal hair: 300-325°F. Thick/coarse hair: 325°F max. When in doubt, start lower—you can always increase.
What’s the safest way to curl thin/fine hair?
Use hot rollers or a curling iron on the lowest effective temperature (usually 250-275°F). Try foam rollers overnight for heat-free curls, or braid damp hair for natural waves.
Style Smart, Not Hard
Here’s what I want you to remember: beautiful hair isn’t about having the most expensive tools or the highest heat settings. It’s about understanding your hair’s needs and working with them, not against them.
The best hair styling tools are the ones you’ll actually use correctly and consistently. Whether that’s a $400 Dyson or a $25 drugstore find, the magic happens when you combine the right tool with proper technique and—say it with me—heat protectant.
Hair styling at home doesn’t have to be a battle between looking good and keeping your hair healthy. With the knowledge you’ve gained today, you can have both. Your future self (and your hair) will thank you for making the switch to damage-free styling.
Ready to level up your hair game? Start with one new tool or technique from this guide, and remember—consistency beats perfection every time. Which styling challenge are you going to tackle first?