
The Beauty of a Natural Makeup Look
Picture this: you wake up, look in the mirror, and instead of reaching for a dozen products, you grab just a handful and create a look that makes people ask, “Are you even wearing makeup?” That’s the magic of a natural makeup look—and honestly, it’s become my personal obsession.
In a world where Instagram filters and contouring ruled the beauty scene for years, there’s been a beautiful shift toward embracing what we naturally have. The “less is more” philosophy isn’t just trendy; it’s liberating. You’re not hiding behind makeup—you’re enhancing the features that make you uniquely beautiful.

Whether you’re a complete makeup beginner who gets overwhelmed by YouTube tutorials with 47 steps, a busy professional who needs a reliable everyday makeup routine, or someone who’s embraced the minimalist makeup routine lifestyle, this guide is for you. I’m going to walk you through creating a natural look that takes less than 10 minutes but makes you feel like the best version of yourself.
What you’ll learn: a foolproof step-by-step makeup tutorial, product recommendations that won’t break the bank, and those little pro tricks that make all the difference. Ready to discover your natural glow?
Prepping Your Canvas: Skincare Is Step Zero
Here’s the thing about achieving that coveted dewy finish makeup look—it starts before you even open your makeup bag. Think of skincare as the primer for life; without it, even the most expensive foundation will look like it’s sitting on top of your skin rather than becoming one with it.
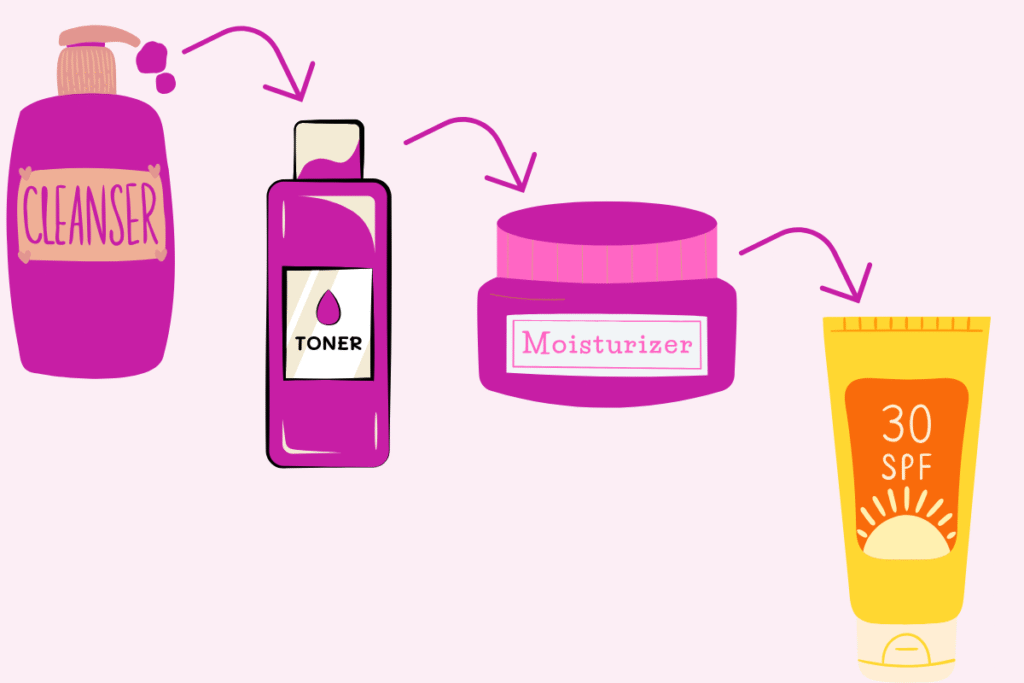
Your minimalist makeup routine should always begin with these four non-negotiables:
Cleanse → Use a gentle cleanser to remove any overnight buildup. Even if you didn’t wear makeup to bed, your skin produces oils and sheds cells while you sleep.
Tone → A hydrating toner preps your skin to absorb the next steps better. Skip anything with harsh alcohols that leave your skin feeling tight.
Moisturize → This is where the magic happens. A good moisturizer creates that smooth, plump base that makes makeup application effortless.
SPF → Non-negotiable, even if you’re working from home. UV protection prevents premature aging and keeps your natural glow intact.
Pro tip for that coveted dewy finish: Mix a tiny drop of your moisturizer with your foundation before applying. This creates a custom tinted moisturizer that looks like your skin, but better. It’s one of those easy makeup hacks that makeup artists swear by but rarely share publicly.
If you want to take it up a notch, a lightweight primer can smooth any texture and help your makeup last longer. But honestly? With proper skincare, you might not even need one.
Step-by-Step Makeup Tutorial for a Natural Look
Step 1: Create Your Base
Forget everything you’ve heard about full-coverage foundation for a natural look. We’re going in the opposite direction with lightweight foundation options that let your skin breathe.
Your best friends here are:
- Skin tints (think Glossier Perfecting Skin Tint or similar)
- BB creams with SPF for multitasking magic
- Tinted moisturizers that hydrate while evening skin tone
Application is key: Use your fingers, a damp beauty sponge, or a stippling brush. The goal is to press and blend, not rub. Start with less than you think you need—you can always build up. Focus on the center of your face and blend outward, making sure to blend down your neck slightly to avoid that dreaded mask line.
For that perfect dewy finish makeup look: Don’t set your entire face with powder. Instead, only lightly dust areas that tend to get oily (usually T-zone) with a translucent powder.
Step 2: Strategic Concealer Application
This is where makeup for beginners often goes wrong—they think concealer needs to go everywhere. In a natural look, concealer is your spot-treatment friend, not your face paint.
Only apply concealer where you actually need it:
- Under eyes (in an upside-down triangle shape)
- On active blemishes
- Around the nose if you have redness
Use a tapping motion with your ring finger or a small brush to blend the edges seamlessly. The key word here is “seamless”—you shouldn’t be able to tell where your concealer starts and stops.
Step 3: Naturally Beautiful Brows
Forget Instagram brows. For a natural look, we’re going for “your brows but better.”
Start by brushing your brows upward with a clean spoolie brush. This alone will make them look fuller and more defined. If you need to fill in sparse areas, use:
• A tinted brow gel that matches your hair color
• A brow pencil one shade lighter than your natural brow color
• Even an eyeshadow that matches your brows applied with an angled brush
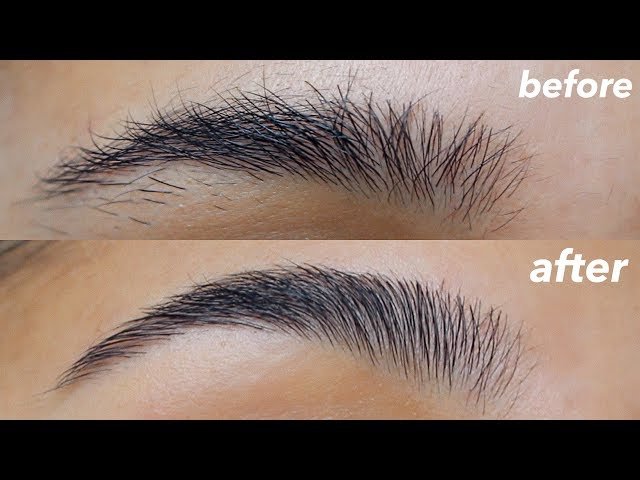
The trick is to follow your natural brow shape and only enhance what’s already there. No sharp lines, no dramatic arches—just soft, natural definition.
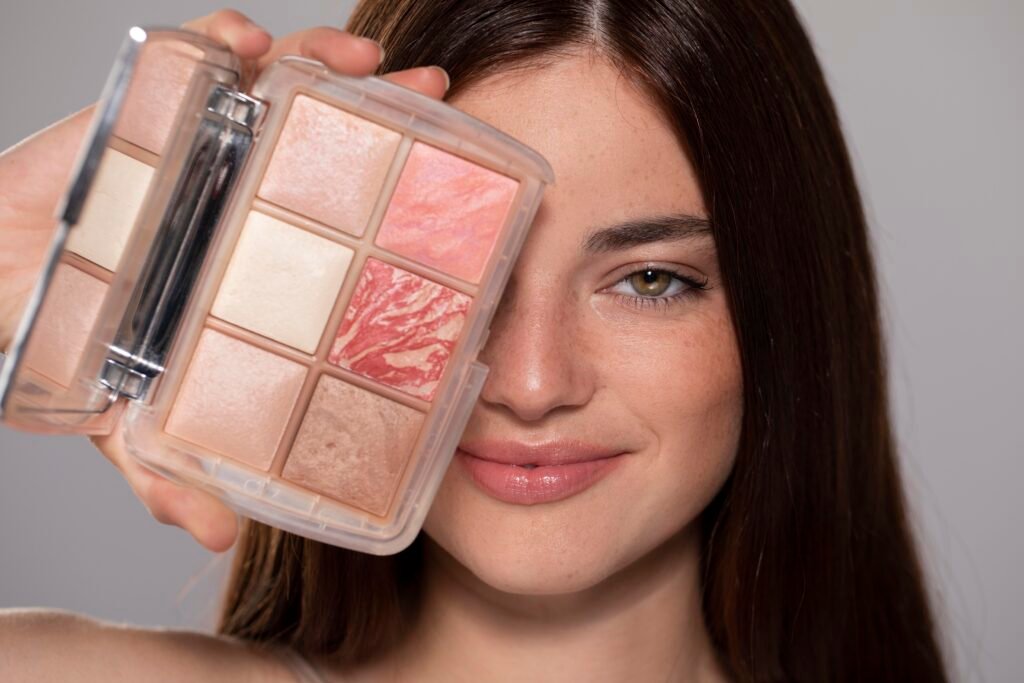
Step 4: The Perfect Natural Blush
Here’s where your natural blush choice can make or break the look. Cream blushes are your secret weapon because they blend seamlessly and look like the flush is coming from within your skin.
Application technique: Smile (yes, actually smile) and apply the blush to the apples of your cheeks. Then blend upward and outward toward your temples. For an extra sun-kissed effect, dot a tiny bit on the bridge of your nose and blend well.
Color choices that work on most skin tones:
- Peachy pinks for warm undertones
- Rose and berry tones for cool undertones
- Coral for those lucky enough to be neutral
Step 5: Subtle Eye Makeup That Doesn’t Try Too Hard
Subtle eye makeup is an art form. You want definition without obvious lines or dramatic shadows.
The foolproof approach: Choose one neutral eyeshadow that’s just one or two shades deeper than your natural skin tone. Apply it with your finger (yes, your finger—the warmth helps it blend naturally) across your eyelid, focusing on the outer corner and blending upward.
If you want a touch more definition, use a brown eyeliner pencil to tightline your upper lash line. This means drawing the liner between your lashes rather than on top of them—it makes your lashes look thicker without obvious liner.
Makeup for work pro tip: If you wear glasses, skip the eyeshadow and focus on mascara and well-groomed brows. Your glasses will hide most eye makeup anyway.
Step 6: Mascara That Opens Your Eyes
For natural-looking lashes, choose a lengthening mascara over a volumizing one. Volumizing formulas can look too dramatic for everyday wear.
Application technique: Start at the base of your lashes and wiggle the wand slightly as you move upward. This separates lashes and prevents clumping. One coat is usually enough, but if you need more drama, let the first coat dry completely before applying a second.
Focus more on your upper lashes, and just lightly coat the lower lashes to avoid that “doll eye” effect.
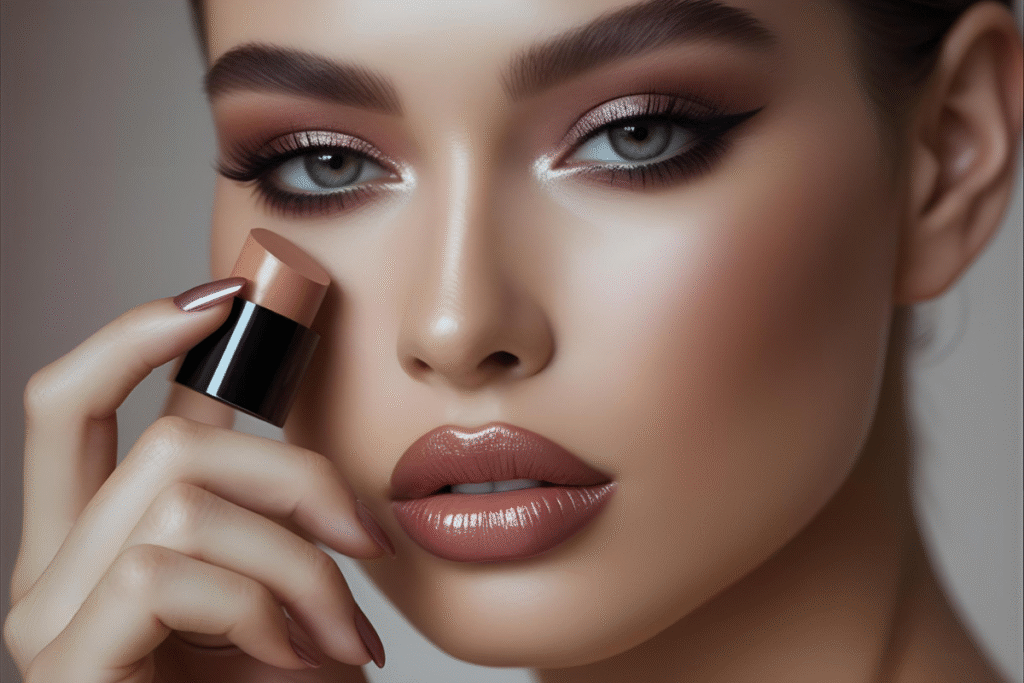
Step 7: The Quest for the Best Nude Lipstick
Finding the best nude lipstick for your skin tone is life-changing. The right nude should enhance your natural lip color, not completely change it.
Here’s how to find your perfect nude:
- Fair skin: Look for pink-based nudes or soft berries
- Medium skin: Peachy nudes or rosy browns work beautifully
- Deep skin: Rich berries, chocolate browns, or warm terracottas
Application for a natural finish: Apply directly from the bullet, then press your lips together and gently pat with your finger to soften the edges. This creates a soft, stained effect rather than a bold lip.
Easy Makeup Hacks to Enhance the Look (Without Extra Products)
The best easy makeup hacks for a minimalist makeup routine involve making your products work overtime. Here are my favorites:
Multi-tasking magic: Use your lipstick as blush. Cream lipsticks blend beautifully on cheeks and ensure your lips and cheeks complement each other perfectly.
Emergency brow gel: Out of brow gel? A tiny bit of clear lip balm on a clean mascara wand will hold your brows in place just as well.
Instant eye lift: Apply your blush slightly higher on your cheekbones than you normally would. This creates a subtle lifting effect without contouring.
Natural highlight: Instead of shimmer highlighter, use a light eyeshadow with a subtle sheen on your cheekbones and nose bridge. It looks more natural than traditional highlighters.
The bronzer trick: Use your bronzer as an eyeshadow in your crease for a cohesive, sun-kissed look that ties your whole face together.
Natural Makeup for Different Situations: Work, Zoom, Weekend
Your natural makeup look should adapt to your lifestyle. Here’s how to tweak the basic formula:
For the Office (Makeup for Work)
- Choose a matte finish foundation to prevent shine under fluorescent lights
- Stick to neutral, professional tones—think soft browns and muted pinks
- Define your brows slightly more since they frame your face in professional settings
- Use waterproof mascara to avoid midday touch-ups
For Video Calls
- Focus on what shows on camera: skin, brows, and lips
- Slightly more blush than usual (cameras wash out color)
- Define your lips well since they’re often the focal point during speaking
- Skip heavy eye makeup—it doesn’t translate well on video
For Weekends
- Embrace the dewy finish makeup fully—no need to worry about shine
- Add a touch of cream highlighter for that healthy glow
- Try a bolder natural lip color
- Consider a tinted lip balm for effortless color that won’t budge during activities
Common Mistakes to Avoid in Natural Makeup
Even with a natural makeup look, there are pitfalls that can make you look overdone or unpolished. Here’s what to avoid:
Using too much product: Natural makeup is about restraint. Start with less than you think you need—you can always add more.
Skipping skincare: No amount of makeup will look natural on unprepared skin. The skincare step isn’t optional.
Creating harsh lines: Whether it’s your brows, eyeliner, or lip liner, everything should be soft and blended in a natural look.
Wrong undertone matching: This is especially crucial for nude lipstick choices. A nude that fights your undertones will look unnatural no matter how well you apply it.
Over-powdering: Setting powder can kill that natural glow we’re after. Use it sparingly and only where needed.
Expert Tips for Mastering the Natural Look
Here are those insider everyday makeup tips that separate amateur hour from effortlessly beautiful:
Cream over powder: Whenever possible, choose cream formulations. They blend more naturally and look like they’re part of your skin rather than sitting on top of it.
Lighting matters: Apply your makeup in natural light whenever possible. Bathroom lighting can be deceiving and lead to over-application.
The elevation trick: Apply blush slightly higher than you think you should—around the same level as your pupils when looking straight ahead. This creates a natural lifting effect.
Blend down: Always blend your foundation and concealer down to your neck slightly. This prevents the dreaded floating head effect.
Less is more with tools: Your fingers are often the best tools for cream products. The warmth helps products blend naturally, and you have better control over pressure and placement.
Color coordination: Choose products in the same color family. If you go warm with your lip color, carry that warmth into your blush and eyeshadow choices.
FAQs: Natural Makeup Edition
What’s the difference between natural makeup and no-makeup makeup? Natural makeup enhances your features while still being visible up close. No-makeup makeup is designed to be completely undetectable—even to you. Natural makeup celebrates your features; no-makeup makeup hides that you’re wearing anything at all.
How can I find the right nude lipstick for my skin tone? Test colors on your lips, not your hand. Your hand has different undertones than your lips. The right nude should be 1-2 shades deeper than your natural lip color and complement your skin’s undertones.
Can I use natural makeup techniques if I have oily skin? Absolutely! Focus on oil-free, long-wearing formulas and use a light dusting of translucent powder only in your T-zone. Cream blushes work well on oily skin because they’re less likely to fade throughout the day.
What’s a quick version of this routine for rushed mornings? The bare minimum: tinted moisturizer with SPF, mascara, and a lip and cheek tint. This three-product routine takes under three minutes but still gives you that put-together natural glow.
How do I prevent my natural makeup from looking flat? The key is strategic placement. Use your lightest shades where light naturally hits your face (center of forehead, under eyes, bridge of nose) and slightly deeper tones where shadows naturally fall (temples, under cheekbones).
Master Your Natural Glow
Creating the perfect natural makeup look isn’t about following rules—it’s about enhancing the beautiful features you already have. This step-by-step makeup tutorial gives you the foundation, but the real magic happens when you make it your own.
Remember, the goal isn’t perfection. It’s confidence. It’s about looking in the mirror and feeling like the best, most authentic version of yourself. Some days that might mean skipping the eyeshadow, other days you might want an extra swipe of mascara. That’s the beauty of natural makeup—it’s as individual as you are.
The techniques you’ve learned here will serve you whether you’re rushing to a morning meeting, preparing for a video call, or just want to feel put-together for a casual weekend. Your minimalist makeup routine should make your life easier, not more complicated.
Ready to put this into practice? Try this routine tomorrow morning and see how it feels. Start with the basic steps, then gradually add the expert tips that speak to you. Take a photo in natural light—you might be surprised at how radiant you look with this effortless approach.