
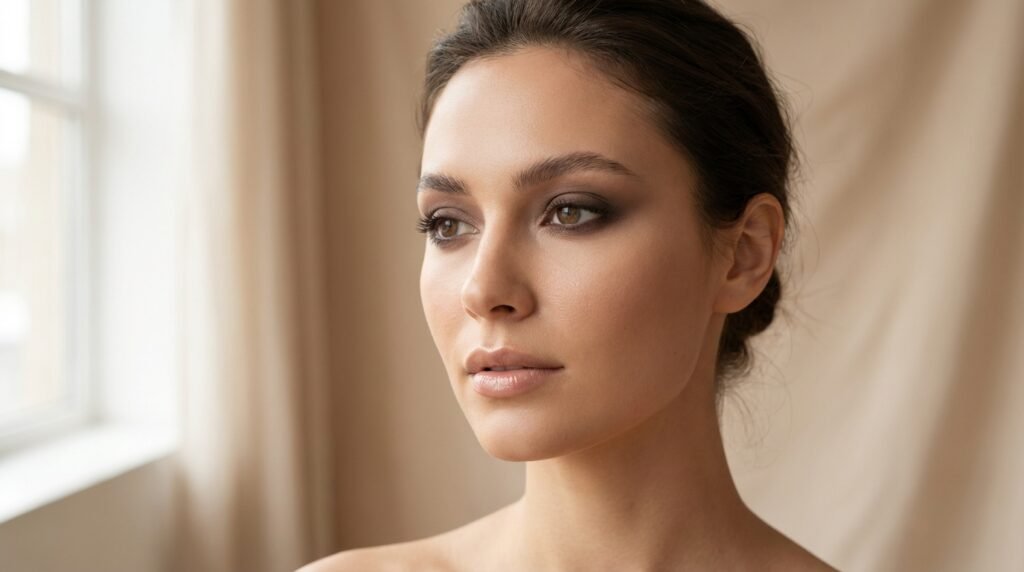
Why the Smokey Eye Never Goes Out of Style
If there’s one makeup look that refuses to fade into the beauty archives, it’s the smokey eye. From red carpets to date nights to “I just want to feel hot today” Tuesdays, this look has serious staying power. And yet, if you’ve ever Googled smokey eye tutorial and immediately closed the tab out of fear—same.
Here’s the truth: smokey eye makeup for beginners doesn’t have to be dramatic, dark, or intimidating. At its core, a smokey eye is just smart blending and strategic depth. No professional kit required. No makeup degree needed.
In this guide, I’ll walk you through easy smokey eye steps that actually work in real life—mess-ups included. You’ll learn what products matter, where people go wrong, and how to create a polished smokey eye that looks intentional (not accidental). Grab your brushes. You’ve got this.
Who This Smokey Eye Tutorial Is For
Let’s make sure you’re in the right place—because this guide was written for real people, not makeup artists backstage at Fashion Week.
This tutorial is perfect if:
- You’re trying a smokey eye makeup look for beginners
- You want easy smokey eye steps that don’t require 12 shadows
- You struggle with blending (or panic once the dark shade goes on)
- You want one look that works for day, night, work, or events
- You have hooded, almond, or slightly uneven eyes (hi, genetics)
In short: if you’ve ever said “It looks great on everyone else, but not on me”—this one’s for you.
What Exactly Is a Smokey Eye? (Quick Breakdown)
Before we dive into the “how,” let’s demystify the concept.
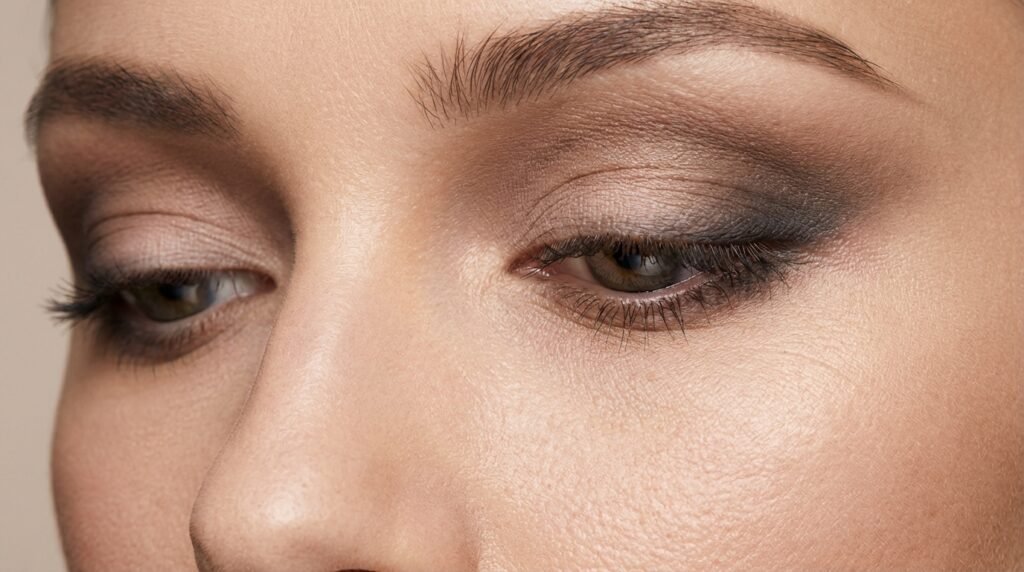
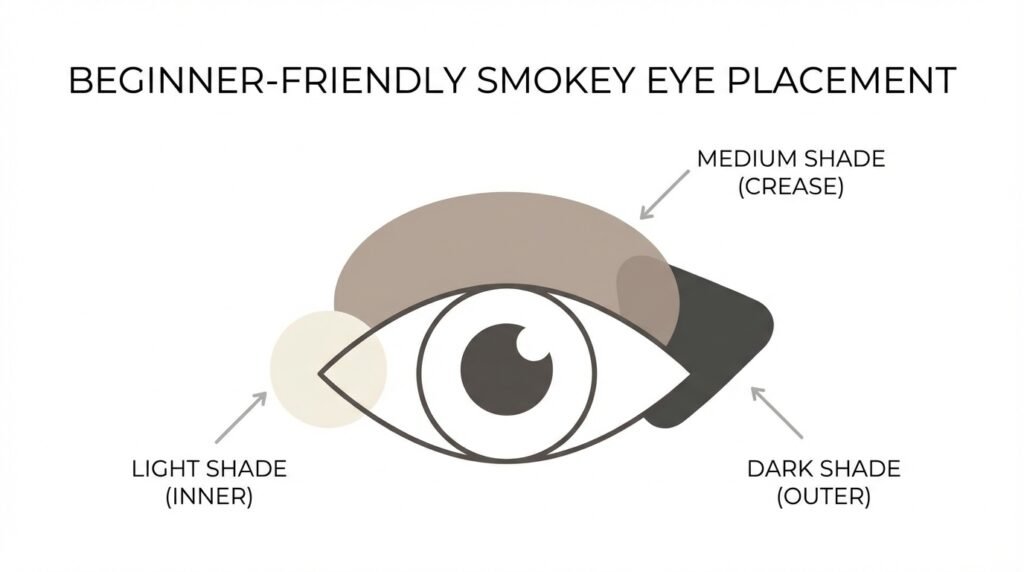
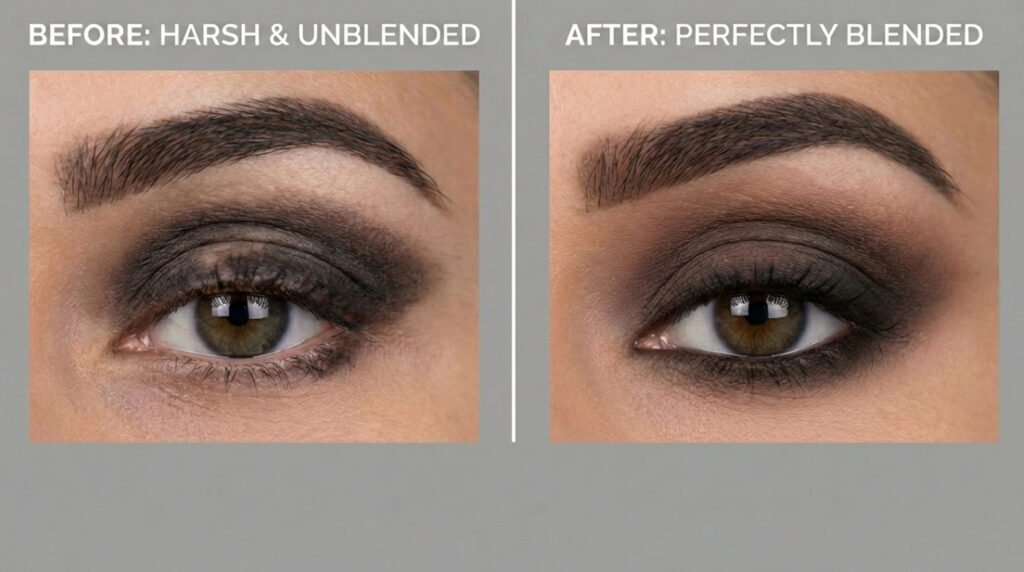
A smokey eye isn’t about black eyeshadow or harsh lines. It’s about creating a soft gradient—lighter shades near the inner eye, gradually deepening toward the outer corner and lash line.
Think of it like a sunset:
- Light → medium → deep
- Seamless transitions
- No obvious start or stop points
Once you understand this, how to do a smokey eye becomes way less scary. It’s not precision—it’s blending with intention.
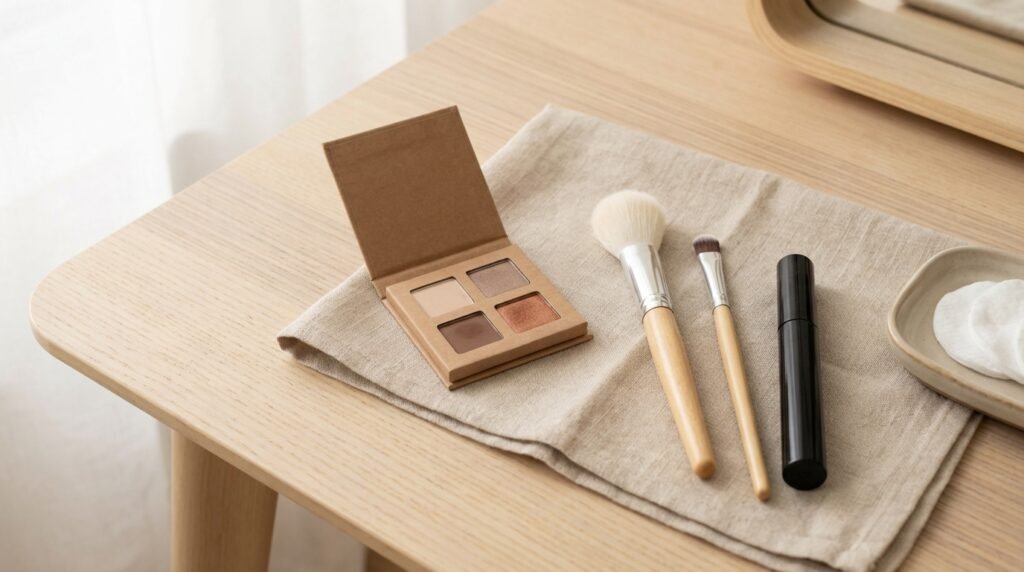
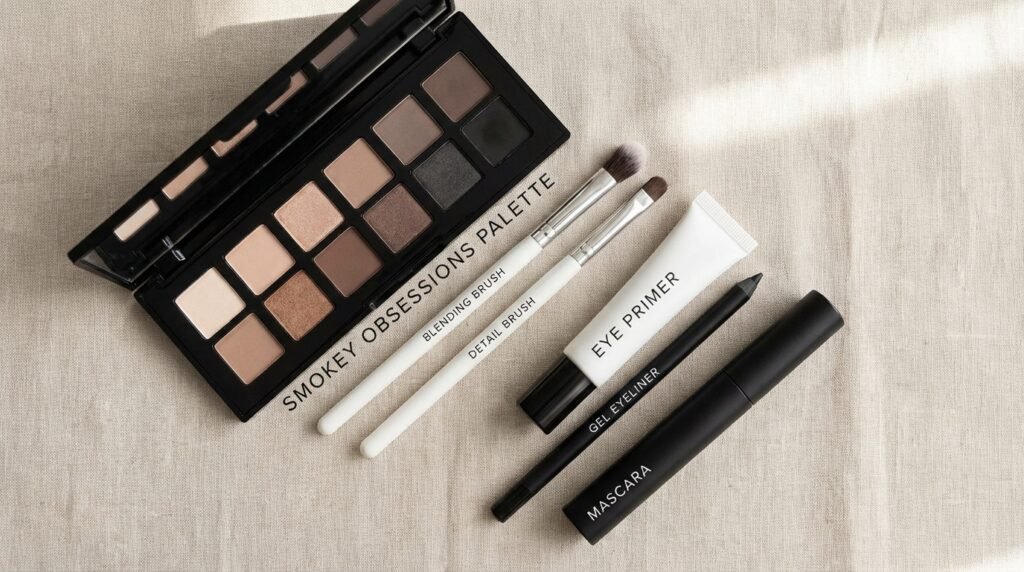
Tools & Products You’ll Need
Good news: you do not need a suitcase of makeup.
Eyeshadow Shades to Use
- Light neutral (beige, soft peach) – base
- Medium matte (taupe, warm brown) – transition
- Deep shade (dark brown, charcoal, plum) – depth
These are the best eyeshadow shades for a smokey eye, especially if you’re starting out. Matte textures are more forgiving than shimmer.
(Shop a beginner-friendly neutral eyeshadow palette)
Brushes That Make Blending Easier
- Fluffy blending brush (non-negotiable)
- Smaller crease or detail brush
- Flat shader brush (optional but helpful)
(Shop an affordable blending brush set)
Optional Add-Ons
- Soft pencil or gel eyeliner
- Mascara (lengthening > clumpy)
- Subtle shimmer for lid pop
Step-by-Step Smokey Eye Tutorial (Beginner Friendly)
This is the heart of the guide. Take it slow—this isn’t a race.
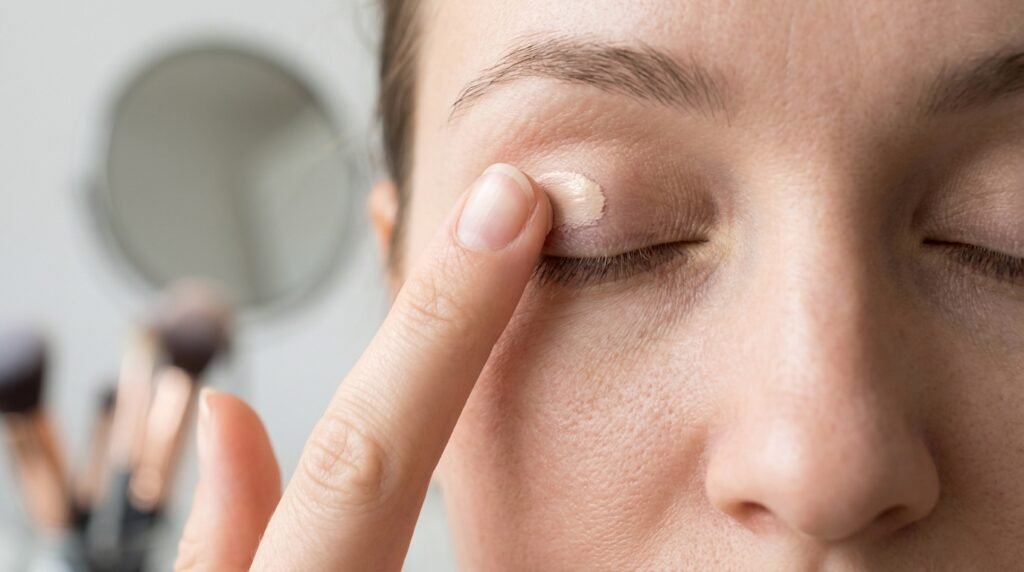
1. Prep the Eyes
Apply eyeshadow primer or a thin layer of concealer. Set lightly with powder.
Why this matters: It prevents creasing and keeps colors true all day.
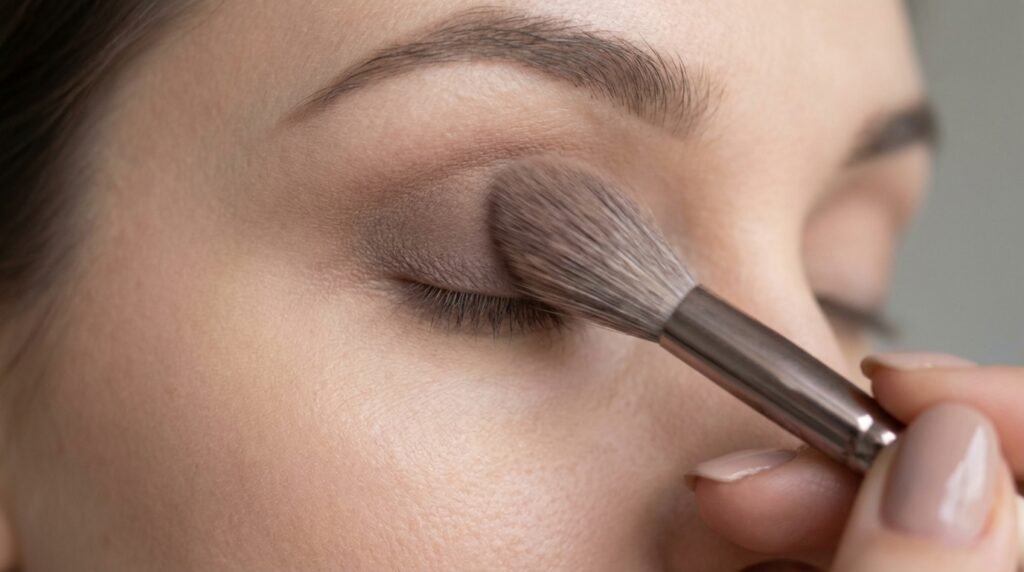
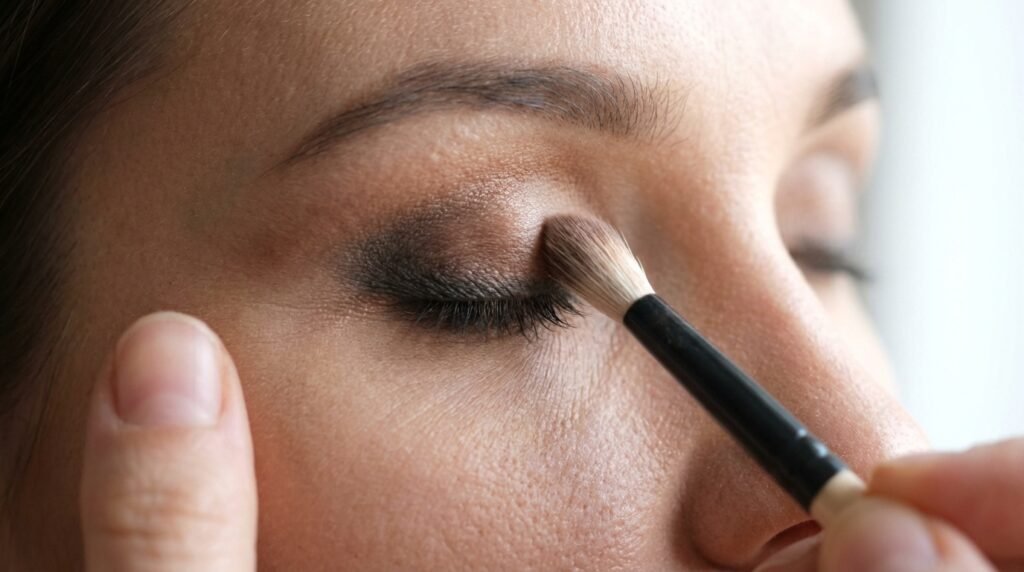
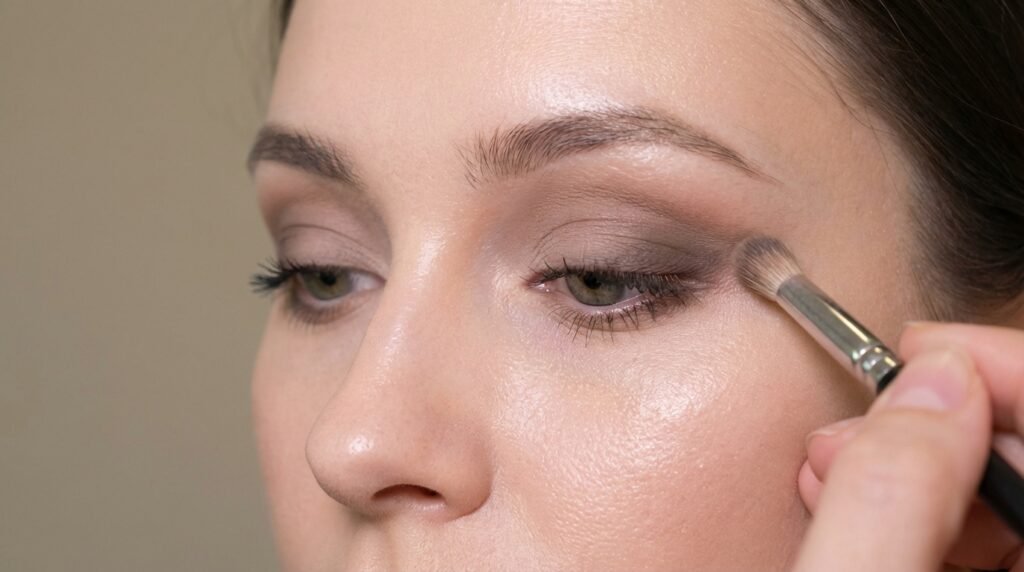
2. Apply a Transition Shade
Using a fluffy brush, sweep a medium matte shade into the crease.
- Use windshield-wiper motions
- Keep pressure light
Why this matters: This creates the blend foundation so darker shades don’t look harsh.
3. Deepen the Outer Corner
Pick up your darkest shade and place it on the outer third of the eye.
- Tap first, then blend
- Keep it below the crease at first
Why this matters: Placement > intensity. You can always build more.
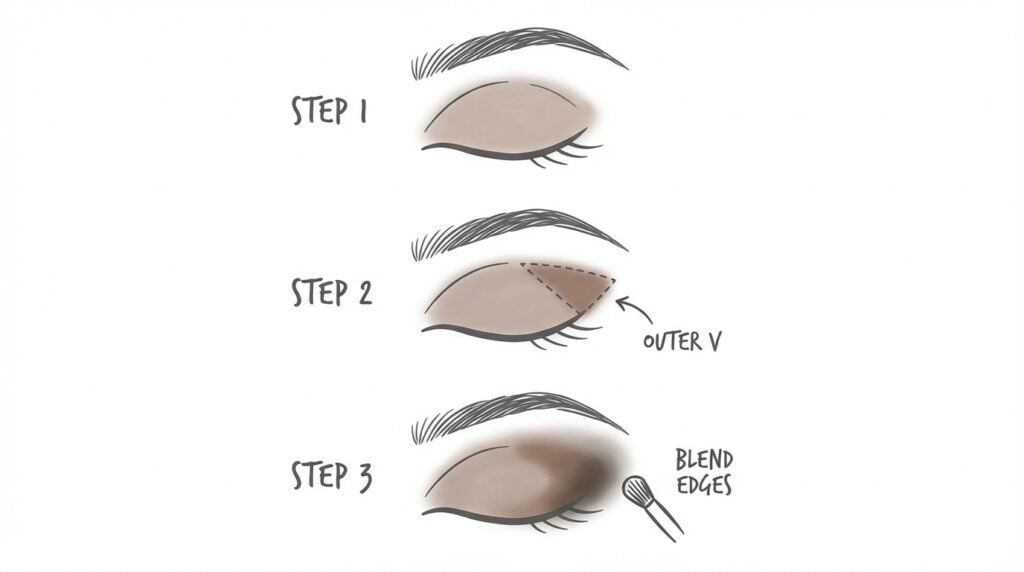
4. Blend, Blend, Blend
Using clean brush motions:
- Small circles to soften edges
- Short back-and-forth strokes
Why this matters: A smokey eye lives or dies by blending. Patience pays off.
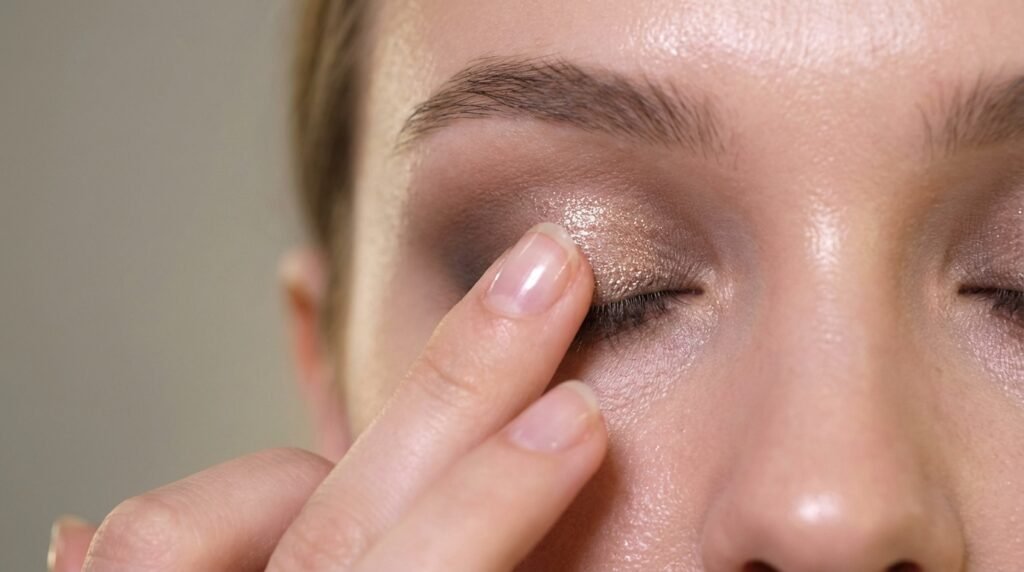
5. Add Lid Color (Optional Shimmer)
Press a subtle shimmer or satin shade onto the center of the lid.
Why this matters: It adds dimension and keeps the look from feeling flat.
6. Define with Liner & Mascara
- Smudge liner along upper lash line
- Finish with mascara
Why this matters: Definition anchors the look without overpowering it.
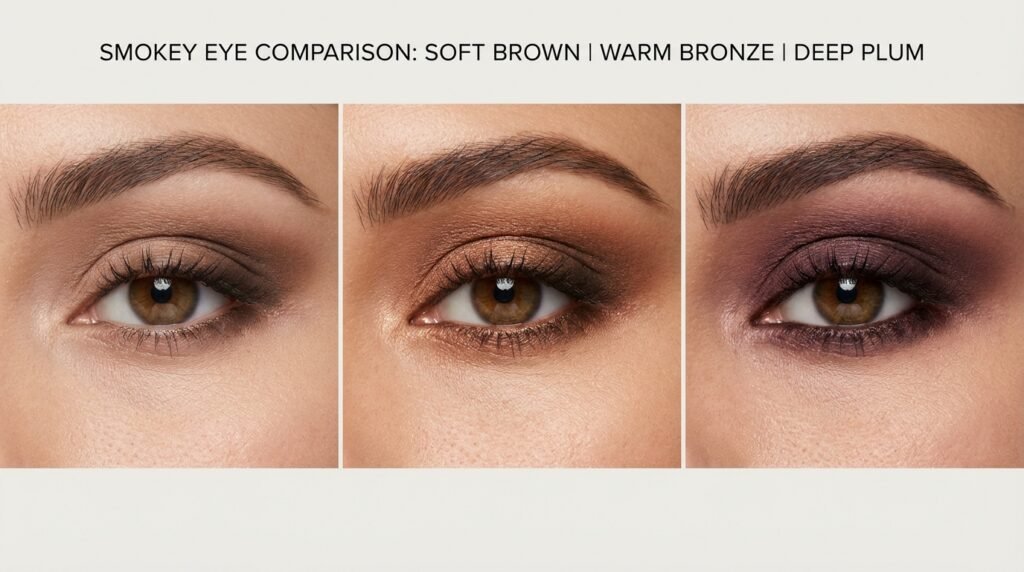
Best Eyeshadow Colors for a Classic Smokey Eye
Black is iconic—but it’s not your only option (or the easiest).
Best eyeshadow for smokey eye looks by color family:
- Brown: Soft, wearable, perfect for beginners
- Bronze: Warm, glowy, great for nights out
- Charcoal: Drama without harsh black
- Plum: Enhances green and hazel eyes
- Navy: Subtle twist that still reads neutral
If you’re new, start with brown or bronze. They forgive mistakes beautifully.
Common Smokey Eye Mistakes (And How to Fix Them)
You’re not bad at makeup—these just happen.
- Too dark too fast → Start lighter, build slowly
- Harsh edges → Clean brush + blending = instant fix
- Fallout under eyes → Do eyes first or use under-eye powder
- Muddy colors → Stick to 2–3 shades max
Every mistake has a fix. Promise.
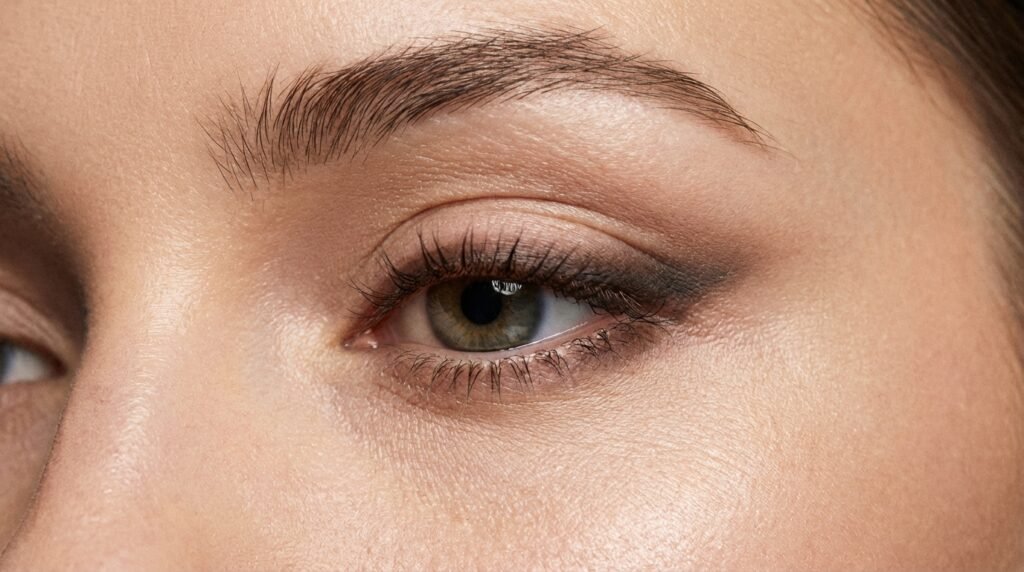
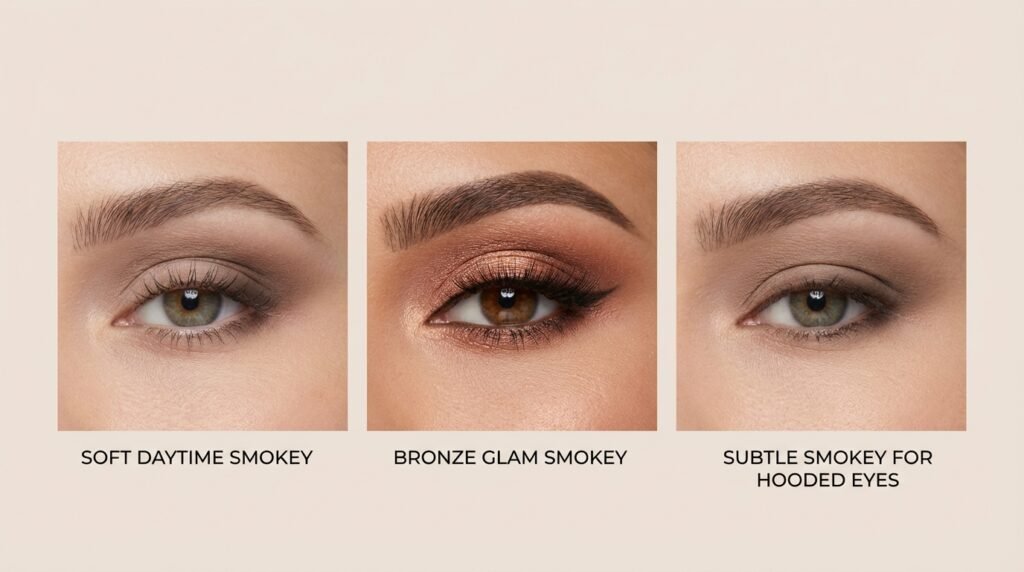
Easy Smokey Eye Variations to Try
Once you master the basics, the fun starts.
- Soft brown daytime smokey: Matte browns, minimal liner
- Bronze glam look: Add shimmer + thicker lashes
- Subtle smokey for hooded eyes: Keep depth lower, blend outward
One technique. Endless moods.
FAQs: Smokey Eye Questions Beginners Ask
Can I do a smokey eye with minimal makeup?
Yes. Two shadows and one brush can get you there.
What’s the easiest smokey eye color for beginners?
Brown—always brown.
How do I keep it from looking messy?
Blend longer than you think, and stop adding product sooner.
Final Tips for a Foolproof Smokey Eye
- Blend first, intensify second
- Use matte shades until you’re confident
- Step back from the mirror—distance reveals balance
- Practice on low-stakes days

Conclusion
The smokey eye isn’t magic—it’s method. Once you understand placement and blending, the fear disappears. This smokey eye tutorial proves that with the right steps, anyone can master this timeless look.
Save this guide. Practice once. Then again. And when you nail it? Try a new shade. Confidence looks good on you.